This month's blog hop theme is to show a skill you have learned from fellow blogger / stamper. I've learned so much from so many bloggers. It was hard to choose what to showcase. I decided to go with a technique I've been wanting to try since
Taheerah shared a gorgeous evening invitation she made. She shared it on the Papertrey forum so I don't have a link to show. She impressed a border on the invitation using PTI's In Bloom impression plate and a modified Spellbinder's mat. I've done a similar technique with Cuttlebug folders, but not with impression plates.
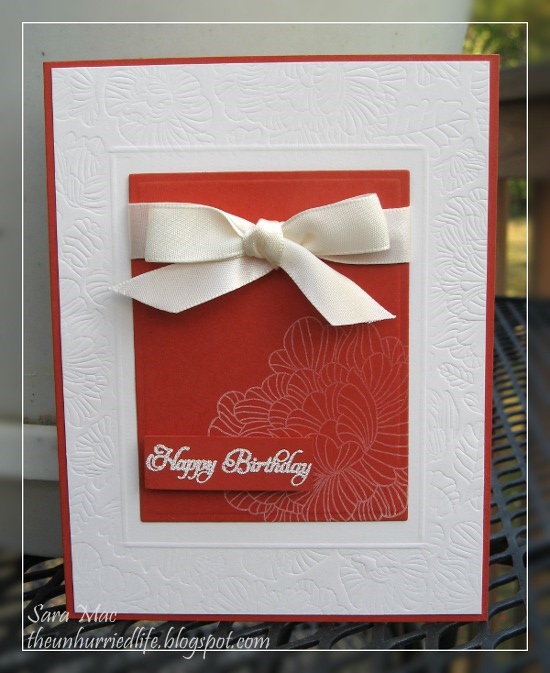
Here's my card using this technique:
Here are a few photos to show you how this was done:
 |
1. Cut an embossing mat to A2 size
2. Cut a rectangle out of the middle |
 |
| 3. Build the above "sandwich" to run through the Cuttlebug |
 |
| This is what it looks like after impressing the border. Sorry for the bad photo. |
 |
| 4. Score inside border using Scor-Pal |
What do you think? Isn't it a cool technique? Thanks to Taheerah (Little Miss T) for the idea and the inspiration.
***EDITED *** Taheerah just got a video tutorial made for this embossing techinique. You can view it
HERE.


All supplies from Papertrey Ink unless noted.
Stamps: In Bloom, Delightful Dahlia (sentiment)
Paper: Vintage Cream, Terracotta Tile
Ink: Vintage Cream
Accessories: spellbinders embossing mat, In Bloom impression plate, vintage cream satin ribbon, Scor-Pal, rectangle Nestabilities, white embossing powder